decorations

the Vintage Shops Pt.1 ~Quirky Cottage~

3:28 PM


We have got these amazingly vintage cute shops around here...and I just have to share them with all of you! It's super cute because their all in one building. So, one of my favorites is the Quirky Cottage, which specializes in vintage, bay decor, and everything rustic/adorable. Need examples? Look below.


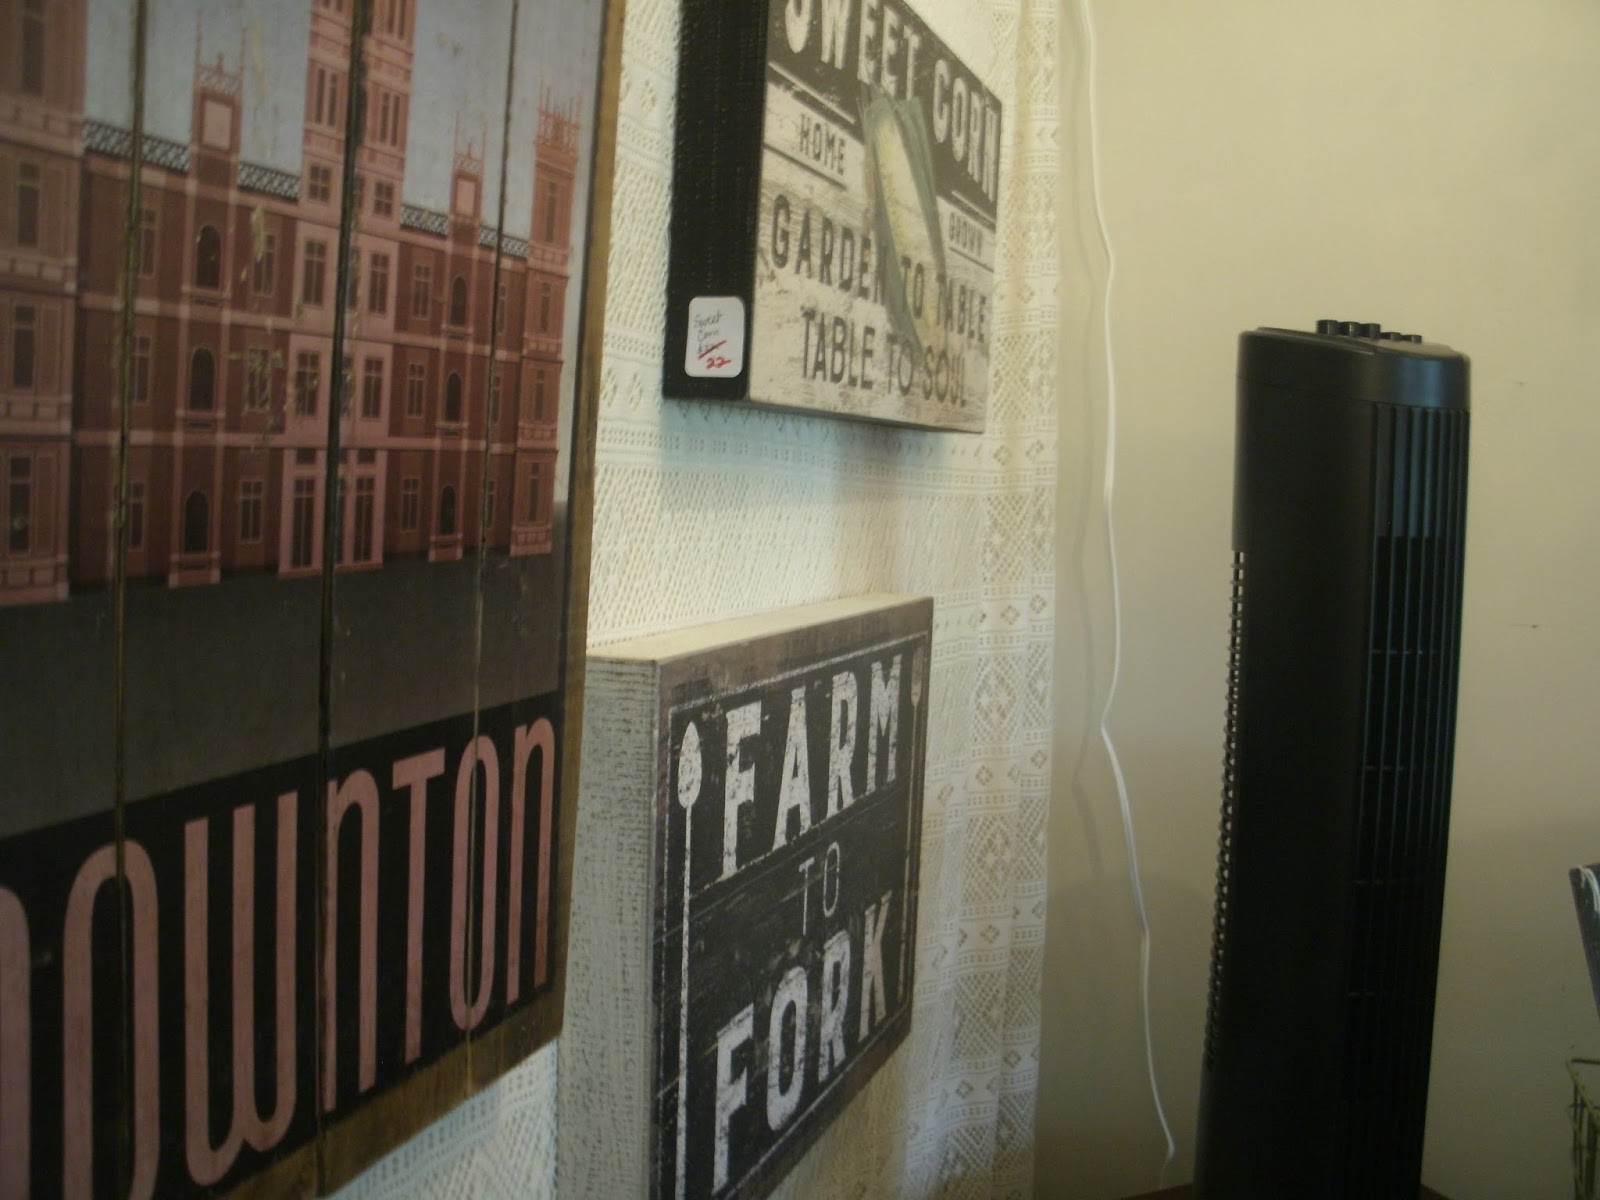
Can we agree that all that would look great anywhere? It's rustic and adorable.

What are your favorite vintage items?
Have you ever been to a store like this?

crafts

The Strawberry Moon and a Grape Crate turn vintage

1:06 PM


Over the bay, across wrinkles of sandbars and a back drop of smoothly painted sky, hung a 'strawberry moon', as the weather people call it. To see such a lovely ball of brightness, overlooking all the glory of the bay at night, is a summer evening to remember.


Yesterday my Mom surprised me by bringing a grape crate into my room. Together we styled it a bit, and then I added some personal touches. Ah! How long I've been trying to capture that vintage/rustic/simple/pretty style. And there it is. A piece of it, at least. just a touch of the vintage life. My Mom also had the creative idea of putting a mason jar with flowers inside a pantyhose (see where I get my random creative ideas ;) And thennnn....I made a chalkboard (yes, I like chalkboard stuff. Yes, I could possibly be overdoing it.) on a square of poster board, with seashells from our beach.


Did you see the 'Strawberry Moon'?
What have you crafted lately?
Which project did you like the most?

crafts

DIY Your Room You: Distressed Picture Frame

7:25 PM


Today I'm kicking off a new blog series, one to give you all ideas on how to fully make your room reflect YOU!


~Distressed Frame~

First up we have a picture frame (I must give this distressed texture idea to the blog Uniquely You)
and it's a cute simple one, but honestly it's just not my favorite colors nor does it match my room. So here we start the transformation. The first paint layer will be the underneath color, glue will make the frame 'crackle', and the paint layer over the glue will serve as the main color, First I paint it white, which may take several layers. This will be the underneath color that will crack through.


Then I take school glue and give it a good layer, spreading it around.


After this, wait about three minutes or more, but not above seven, and once your ready paint the top color on.


Mine took awhile to start fully cracking, it depends on how soon you put your pain on. Here's the distressed product below...


Now, make sure it is FULLY dry. When mine was dry I took a flower stamp and stamped it by the top left corner and top right corner, with acrylic paint on the edges.


Then I added a little writer's flair to the frame, and stamped 'Writer at Work' on the surface. Even though mine came out uneven, using a ruler helps.


...and tah-dah!!! The finished product below!


What are all of your thoughts? What do you do to make your room your style?
Thanks & God Bless!

Christmas

Thee Long and Merry Christmas Post: DIY Decorations

3:58 PM


Okay everyone! So there are a couple Decorations that I am experimenting with...


Gift Wrapped Door 

Snowflakes


Snowflake Garland


What You'll Need

Foam Snowflakes
Fishing String
Scissors
Tacks 

Step 1

String your first snowflake by taking the fishing string through holes. I put it through the top let hole, then across to the top right. For every 3 snowflakes I added a mini flake, either through the two top holes or the middle ones. 

Step 2

Once your done with the snowflakes (you can even them out after it's hung), put two tacks at the beginning and the end of where your hanging the string. Then tie about two knots at each end.

Step Three

Even out your snowflakes, and make sure they look right. 
Then voila! 


Gift Wrap Door


What You'll Need

Wrapping Paper (I used about 45")
Tape (shipping tape would work great)
Scissors 
Glue Stick
Ribbon
Bow


Step 1 

To wrap the door, I measured the amount for the front, and dropped the roll over the back.


Then cut, and tape down. It's a bit tricky to pull the wrapping paper under and up from the door, I actually tore mine. Make sure to cut holes for the door nobs. Sine I did not have enough, I used some from another roll. Patch up your bare spots, using the glue stick so you cannot see the tape. 


Step 2

Here you add the ribbon, which I used the tape by sticking it to itself, to make it all-around sticky. My ribbon was supposed to look more 'gifty', but I ran out, so now it is more of a cross.


Then add a ribbon by hot gluing it on, and your done! 


My Asparagus Fern & paper mache newspaper tin (the letters are clipped out from the paper ). I learned never to use 4 day old paper mache, wonder if I'll ever forget that smell.


Stay Tuned! 

Next Long & Merry Post featuring an interview with Shelby from the Blog Every Bit of Lovely!